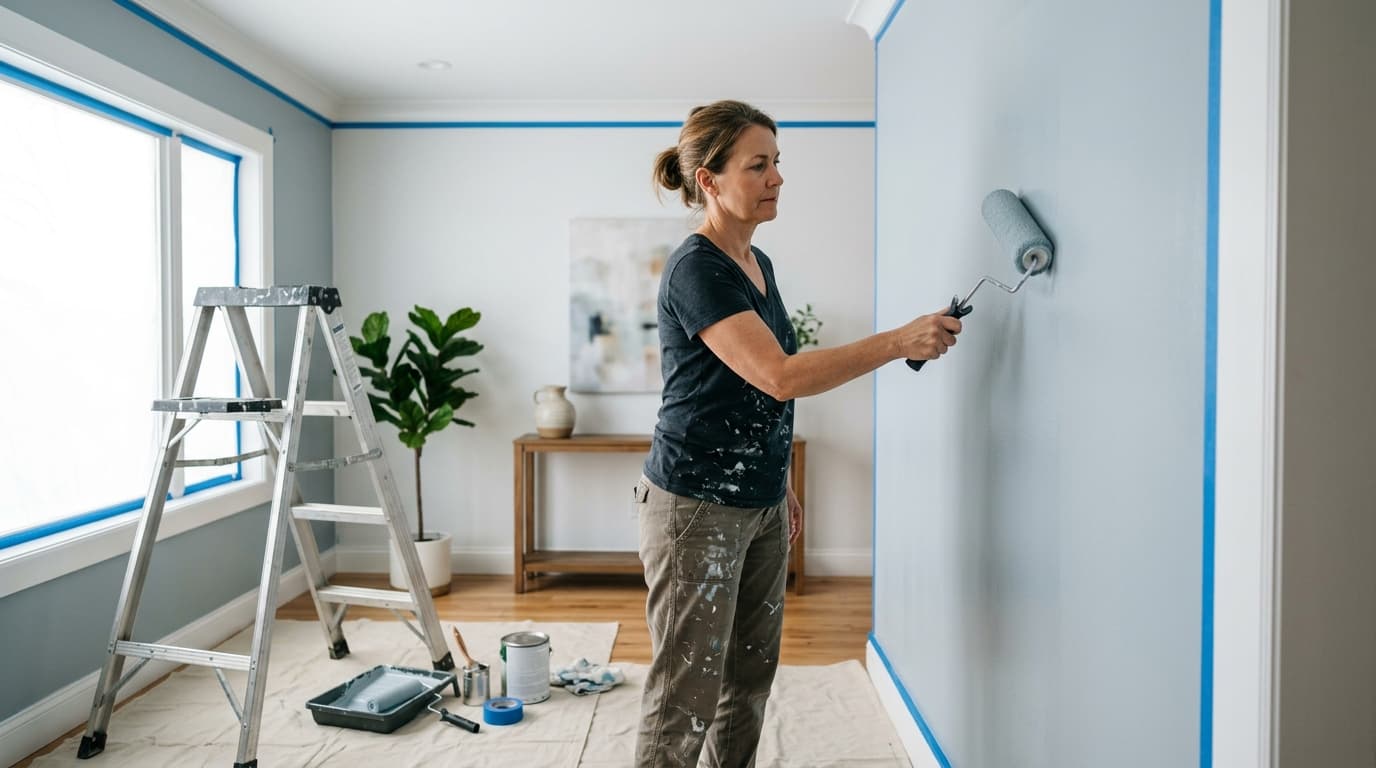
Interior painting seems like the easiest DIY project. Buy paint, roll it on walls, done. Then you actually try interior painting yourself and discover:
- Streaky finish with visible roller marks
- Uneven coverage where dark spots show through
- Drips and runs everywhere
- Paint on ceiling, baseboards, floors
- Brush marks around trim
- Second coat looks worse than first
Meanwhile, professional painters charge $2,000-5,000 for the same room. Their finish looks flawless.
What's the difference? 90% preparation, 10% painting. Here's what pros know that DIYers skip.
The Pro Secret: Preparation IS the Job
Professional painters allocate their time differently than DIYers:
Professional time breakdown:
- 30% of time moving furniture and covering floors
- 40% of time taping, priming, and patching
- 20% of time actually painting
- 10% of time cleanup and touch-ups
DIY time breakdown:
- 10% of time moving furniture
- 10% of time taping (badly)
- 70% of time painting and fixing mistakes
- 10% of time giving up and living with it
The result: Pro finishes look smooth and even. DIY finishes look rushed because they are.
Mistake #1: Skipping the Prep Work
What beginners do: Tape baseboards, start painting
What pros do: Complete systematic preparation
Pre-Painting Checklist:
1. Move furniture Empty the room completely or move everything to center. Cover with plastic sheeting.
2. Remove outlet covers and light switch plates This takes 5 minutes but saves hours of detail work. Never paint over them.
3. Clean walls thoroughly Use TSP cleaner or sugar soap to remove grease and dust. This step is critical in kitchens and bathrooms. Paint won't adhere properly to dirty walls.
4. Patch holes and cracks
- Spackle nail holes with lightweight compound
- Fill cracks with paintable caulk
- Sand smooth with 120-grit sandpaper
- Prime all patches or they'll show through paint
5. Sand glossy surfaces Old paint, trim, and doors need light sanding with 120-grit paper. This creates "tooth" for new paint to grip. Wipe away dust with a tack cloth.
6. Tape carefully Or learn to cut in without tape—more on this technique later.
7. Prime when necessary Always prime when painting over dark colors, stains, or new drywall.
Time for prep: 2-4 hours for a 12×12 bedroom
Time saved during painting: 3-6 hours by avoiding mistakes and cleanup
Mistake #2: Using Cheap Paint ("I'll Just Add Extra Coats")
What beginners think: "Paint is paint. Why pay $60/gallon when $25 works?"
The reality: Quality paint saves time and money.
Paint Quality Tiers:
Budget paint ($20-30/gallon):
- Low pigment requiring 3-4 coats
- Thin consistency causes drips and splatters
- Poor durability shows scuffs quickly
- Total cost: $25 × 3 gallons + 12 hours labor = expensive mistake
Mid-tier paint ($40-60/gallon):
- Good pigment needs only 2 coats
- Nice consistency flows well with fewer drips
- Good durability wipes clean and resists scuffs
- Total cost: $50 × 2 gallons + 6 hours labor = reasonable value
Premium paint ($60-80/gallon):
- Excellent pigment covers in 1-2 coats
- Perfect consistency self-levels without brush marks
- Excellent durability stays scrubable and stain-resistant
- Total cost: $70 × 2 gallons + 4 hours labor = best overall value
The Math:
Scenario: Painting a 12×12 bedroom with 400 square feet of wall space
Budget paint calculations:
- Coverage: 250 sq ft/gallon
- Coats needed: 3
- Gallons needed: 5
- Cost: $125
- Time: 12 hours
Premium paint calculations:
- Coverage: 400 sq ft/gallon
- Coats needed: 2
- Gallons needed: 2
- Cost: $140
- Time: 6 hours
Premium saves: 6 hours of your life for just $15 more
Top Paint Brands (According to Consumer Reports):
Best overall: Sherwin-Williams Duration, Benjamin Moore Regal Select
Best value: Behr Marquee (Home Depot), Valspar Signature (Lowe's)
Avoid: Behr Premium Plus, any "Oops" paint
Pro tip: Shop during 30-40% off sales on Memorial Day, Labor Day, and Black Friday
Mistake #3: Wrong Tools (The $5 Roller vs $15 Roller)
What beginners do: Buy the cheapest roller, cheapest brush, and one paint tray
What pros use: Quality tools that create better results
The Right Tools:
Roller covers ($8-15 each): Choose nap length based on wall texture:
- 1/4" nap for smooth walls, cabinets, doors
- 3/8" nap for most interior walls
- 1/2" nap for textured walls and stucco
Use microfiber or woven material. Avoid foam which leaves bubbles.
Roller frame ($10-15): Look for threaded handle that accepts extension poles. Cheap frames bend and create uneven pressure.
Extension pole ($15-25): Get 4-8 foot adjustable pole. This lets you paint ceilings without a ladder and reduces arm fatigue.
Brushes ($8-20 each):
- 2-2.5" angled sash brush for cutting in
- 1-1.5" brush for trim and detail work
- Synthetic bristles for latex paint
- Natural bristles for oil-based paint
Paint tray liners ($5 for 10): No cleanup needed. Toss liner and reuse tray.
Total quality tool cost: $60-100 (reusable for years)
Total cheap tool cost: $20 (single use with terrible results)
Mistake #4: Bad Taping (Or Not Taping Smart)
What beginners do: Use masking tape instead of painter's tape. Apply tape with gaps and bubbles. Paint over tape and rip it off after drying, taking paint with it.
What pros do: Use proper technique or skip tape entirely.
Taping Best Practices:
Choose the right tape ($5-12/roll):
- Blue tape: Standard with 14-day clean removal
- Green tape: Multi-surface with 30-day clean removal
- Yellow or purple: Delicate surfaces that won't damage
Never use masking tape. It bleeds and leaves residue.
Application technique:
- Press firmly with putty knife to seal edges
- Paint small bead along tape edge to seal gaps
- Remove while paint is still wet
- Pull at 45° angle slowly to avoid tearing
The "No Tape" Method (Pro Technique):
Many pros cut in freehand without tape:
Cutting in steps:
- Load brush with paint but not dripping
- Hold brush like a pencil for control
- Start 1" from edge and brush toward it
- Use steady hand with smooth motion
Why pros skip tape: Taping takes 30-60 minutes. Cutting in takes 20-30 minutes once you're skilled. Tape can create ridges and bleed-through.
Why DIYers should tape initially: Learning to cut in requires practice. Tape provides a safety net while you learn.
Mistake #5: Wrong Painting Technique
What beginners do: Dip roller in paint and roll directly on wall. This creates visible marks and uneven coverage.
What pros do: Use systematic technique for smooth results.
The "W" Technique:
Step 1: Load roller properly Roll in paint tray until evenly saturated. Remove excess on textured part of tray.
Step 2: Apply paint in "W" pattern Roll 3-foot "W" on wall to distribute paint evenly. Don't press hard.
Step 3: Fill in the pattern Roll vertically to fill gaps. Overlap strokes slightly for blending.
Step 4: Smooth the finish Make final pass with light pressure using vertical strokes. Tilt roller slightly to feather edges.
Step 5: Maintain wet edge Work in 3×3 foot sections. Connect sections before edges dry to prevent lap marks.
Common Rolling Mistakes:
Pressing too hard: Squeezes out paint causing drips
Rolling too fast: Creates paint splatters
Overloading roller: Causes drips and uneven thickness
Letting edges dry: Creates visible lap marks
The Correct Painting Order
Professional painters follow this sequence for maximum efficiency:
Step-by-Step Process:
1. Ceiling first Cut in ceiling edges first. Roll ceiling working in 3×3 sections. Any drips on walls get covered later.
2. Walls second Cut in at ceiling-wall line. Cut in corners and around trim. Roll walls in vertical sections.
3. Trim last Paint doors, baseboards, and window frames. Use angled brush with long strokes.
This order prevents problems. Ceiling drips on unpainted walls don't matter. Wall drips on unpainted trim don't matter.
How Many Coats? (And How Long Between)
General Rules:
Primer + 2 coats: Required for new drywall and major color changes
2 coats: Standard for repainting similar colors
1 coat: Possible with premium paint over same or lighter color
Drying Times:
To touch (30-60 minutes): Surface feels dry but not ready
To recoat (2-4 hours): Safe to apply second coat
To cure (7-30 days): Fully hardened for cleaning
Wait 4 hours minimum between coats regardless of label claims. Rushing causes tracking where roller pulls up first coat.
When to DIY vs Hire a Painter
[Colors change throughout the day. Large walls look different than tiny chips.
The Right Way:
1. Buy sample pots ($5-10 each)
2. Paint test squares Paint 2×2 foot squares on multiple walls. Include areas next to trim.
3. Live with samples Observe for 3-5 days. Check morning, afternoon, evening, and night lighting.
4. Make decision Love it at all times? Buy gallons. Have doubts? Try different color.
Sample cost: $30-50
Repainting cost: $200-400 if you hate the color
Color Selection Tips:
North-facing rooms: Choose warm colors like yellows, oranges, or reds
South-facing rooms: Use cool colors or go bold with abundant light
Small rooms: Lighter colors create spacious feeling
Large rooms: Handle darker, bolder colors well
Test with flooring: Ensure color complements carpet or hardwood
Homeplexi: When Your DIY Ambition Exceeds Your Skill
Interior painting looks deceptively simple. You can do it, but should you?
DIY makes sense when:
- Single room project
- Standard height walls and ceilings
- You have 3-4 days including drying time
Hiring makes sense when:
- Multiple rooms need painting
- Whole house project
- High ceilings or difficult access
- Your weekends have value
Homeplexi connects you with local painters:
✅ 3 quotes within 24-48 hours
✅ Licensed and insured professionals
✅ Transparent pricing per room or square foot
✅ Verified customer reviews
Real Example:
David in Chicago needed interior painting for:
- Living room (15×20 with 10-ft ceilings)
- Dining room (12×14 with 10-ft ceilings)
- Hallway (4×20)
- Color change from dark tan to light gray
DIY estimate:
- 3-4 weekends needed
- $400 for paint and supplies
- Uncertain results as first-timer
Homeplexi quotes received:
- Vendor A: $2,400 (primer plus 2 coats, furniture moving, 3-day completion)
- Vendor B: $3,100 (premium paint, detailed trim work, 4-day completion)
- Vendor C: $1,950 (budget option, DIY furniture moving, 2-day completion)
David chose Vendor A. The crew finished in 3 days with perfect results. He kept his weekends free.
Value calculation: $2,400 bought 3-4 weekends plus professional results
FAQ: Interior Painting Questions
Q: Do I need primer for white over white? A: Usually no. Prime only for new drywall, patched areas, stains, or dark-to-light changes.
Q: Can I paint over wallpaper? A: Technically yes, but shouldn't. Paint seals wallpaper making future removal harder. Remove wallpaper first. If you must paint over it, use oil-based primer to seal edges.
Q: What's the difference between paint sheens? A:
- Flat: No shine, hides imperfections, hard to clean (bedrooms, ceilings)
- Eggshell: Slight sheen, washable (living rooms, dining rooms)
- Satin: Soft sheen, durable (kitchens, bathrooms, kids' rooms)
- Semi-gloss: Shiny, very durable (trim, doors, cabinets)
- Gloss: High shine, shows every imperfection (rarely used indoors)
Q: How do I avoid brush marks on trim? A: Use quality synthetic brush. Thin paint slightly with 10% water for latex or 10% mineral spirits for oil. Make long smooth strokes without overbrushing. "Tip off" with final light pass to smooth marks.
Q: Can I paint in humid or cold conditions? A: Temperature should be 50-85°F. Below 50°F prevents proper curing. Humidity should stay under 70% to avoid slow drying and runs.
Final Thoughts
Professional-quality interior painting isn't about talent. It's about:
- Preparation including cleaning, patching, and priming
- Quality materials with good paint and proper tools
- Proper technique using W-pattern and maintaining wet edges
- Patience between coats for proper drying
Your first DIY paint job won't be perfect. But following these steps makes it 10x better:
- Prep surfaces properly
- Buy decent paint
- Learn the W-technique
- Wait full drying time between coats
Related Articles:
- Drywall Repair: 5 Mistakes
- Home Repair Costs 2026
- Questions to Ask Before Hiring
- Get Multiple Contractor Quotes
Or hire a pro for $400-800 per room and skip the learning curve entirely.
Need a painter? Get 3 Free Quotes →
Interior painting techniques based on professional painter best practices and common DIY mistakes observed across thousands of Homeplexi projects. Always ensure proper ventilation when painting indoors.
Need Professional Help?
Homeplexi connects you with vetted contractors, helps you compare quotes, and manages your entire home improvement project in one place.
Get Started Free →The Homeplexi editorial team consists of licensed contractors, home inspectors, and consumer protection experts who provide research-backed guidance for homeowners. All content is fact-checked and cited from authoritative industry sources.
Important Safety Disclaimer
Please read this carefully before following any advice:
- Always prioritize safety: Wear appropriate protective equipment (safety glasses, gloves, etc.) when performing any home maintenance or repair work.
- Know your limits: If you're not confident in your ability to safely complete a task, hire a licensed professional. This is especially important for electrical, gas, plumbing, and structural work.
- Verify all information: The guidance provided here is based on community discussions and general knowledge. Always double-check any advice with multiple reliable sources or a licensed professional.
- Follow local codes: Building codes, electrical codes, and plumbing codes vary by location. Ensure any work complies with your local regulations and obtain necessary permits.
- Turn off power/water/gas: Before working on electrical, plumbing, or gas systems, always shut off the relevant utilities at the source.
- For emergencies: If you have a gas leak, electrical fire, major water leak, or other emergency, evacuate immediately and call emergency services (911) and your utility company.
Liability: Homeplexi provides information for educational purposes only. We are not responsible for any injury, property damage, or losses resulting from following any guidance or advice provided through this platform. Use all information at your own risk.
When in doubt, always consult a licensed, insured professional contractor. Homeplexi can help you find qualified professionals in your area.
Found this helpful? Share with others:
Related Articles
How to Lower Electric Bills: Proven Strategies That Actually Work When Basic Tips Fail
Electric bills climbing higher than expected despite energy-saving efforts
Electrical Outlet Not Working: DIY Fixes vs. When to Call an Electrician
Knowing when it's safe to DIY vs. hiring a pro
Home Repair Priorities: The 4-Quadrant System for Deciding Which Fixes Come First (When You Can't Afford Everything)
Homeowners overwhelmed by multiple needed repairs but limited budget, unsure which repairs to tackle first